Body prep and primer
I don't have pictures of each stage but this is the process I followed:
1) I decided to use PPG paint products and purchased them all from a local supplier, Rozars. Good people there.
2) The initial stage is to clean the entire body and get any waxes, greases, etc off the body. This is essential especially since when I did the engine work I was not careful about fluids on the body and the glass was exposed. I used a PPG product DX440 which also removes silicone based products....such as penetrating fluid!
3) Now, shoot a sealer layer to act as a barrier for anything still trapped in the glass. I used DP-40LF with the 401LF catalyst. Lay down two thick wet layers.
4) This provides an excellent attaching layer for body fill. I used Ecklers Vette body fill product for this. My understanding is that this filler has some fiber strand to match the expansion characteristics of the underlying panels. This took many successive fill, sand, fill cycles to get it perfectly smooth. I would recommend using a guide coat, which is a light splotchy contrasting layer like a black, before sanding to give a good visual stop for the sanding.
5) Next comes the sanding primer layer. For this I used PPG K36 and the first round is two very thick layers.
6) Shoot a guide coat and do an initial sand. Now in my case this is where the bead blasting creates a LOT of work. The rear deck showed this tremendously. The initial shoot of 2 coats didn't come close to covering all the pitting. It took another thick 2 coats to get all the pitting filled.
7) The intermediate primer layers are sanded with 150 grit. Last comes a final primer layer, guide coat, a light sanding with 220 grit where you just are checking for high points not taking off all the guide coat. Lastly comes a final wet sand with 600 grit where you want to take off all the guide coat. When you're done you have something smooth like glass.
8) Now, in some areas I had some sand through even with the 600 wet close to edges and stuff. I found that shooting a single coat of the DP40LF expoxy primer is a recommended practice to not only cover the exposed fiberglass from the sand through but also to act as a final barrier/sealer. So, shoot that down.
Here's some of the final priming pics where you can see the drivers side is nice and smooth now. In total the above process took me about 12 days of a lot of work on nights and weekends, probably about 40-50 hours total!
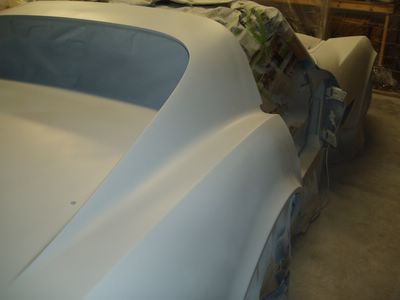
Final primer applied
Final primer stage

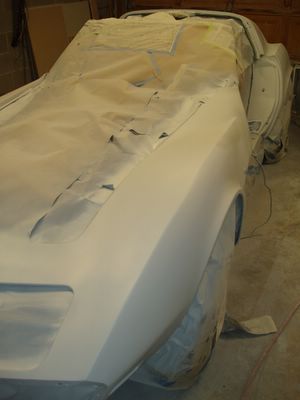
Final primer stage. Can start seeing the straightness of the panels
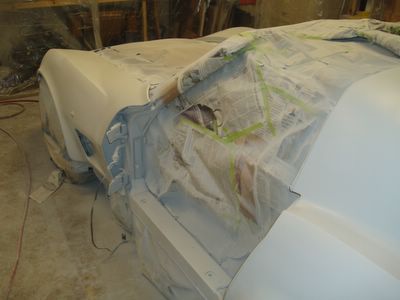
Long view of final primer. Remember how bad the front fender area looked?
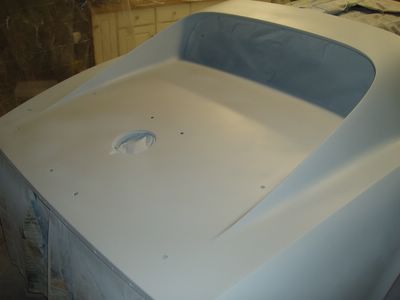
Final primer, remember how bad the rear deck was all chewed up from the bead blasting?
1) I decided to use PPG paint products and purchased them all from a local supplier, Rozars. Good people there.
2) The initial stage is to clean the entire body and get any waxes, greases, etc off the body. This is essential especially since when I did the engine work I was not careful about fluids on the body and the glass was exposed. I used a PPG product DX440 which also removes silicone based products....such as penetrating fluid!
3) Now, shoot a sealer layer to act as a barrier for anything still trapped in the glass. I used DP-40LF with the 401LF catalyst. Lay down two thick wet layers.
4) This provides an excellent attaching layer for body fill. I used Ecklers Vette body fill product for this. My understanding is that this filler has some fiber strand to match the expansion characteristics of the underlying panels. This took many successive fill, sand, fill cycles to get it perfectly smooth. I would recommend using a guide coat, which is a light splotchy contrasting layer like a black, before sanding to give a good visual stop for the sanding.
5) Next comes the sanding primer layer. For this I used PPG K36 and the first round is two very thick layers.
6) Shoot a guide coat and do an initial sand. Now in my case this is where the bead blasting creates a LOT of work. The rear deck showed this tremendously. The initial shoot of 2 coats didn't come close to covering all the pitting. It took another thick 2 coats to get all the pitting filled.
7) The intermediate primer layers are sanded with 150 grit. Last comes a final primer layer, guide coat, a light sanding with 220 grit where you just are checking for high points not taking off all the guide coat. Lastly comes a final wet sand with 600 grit where you want to take off all the guide coat. When you're done you have something smooth like glass.
8) Now, in some areas I had some sand through even with the 600 wet close to edges and stuff. I found that shooting a single coat of the DP40LF expoxy primer is a recommended practice to not only cover the exposed fiberglass from the sand through but also to act as a final barrier/sealer. So, shoot that down.
Here's some of the final priming pics where you can see the drivers side is nice and smooth now. In total the above process took me about 12 days of a lot of work on nights and weekends, probably about 40-50 hours total!

Final primer applied

Final primer stage

Final primer stage. Can start seeing the straightness of the panels

Long view of final primer. Remember how bad the front fender area looked?
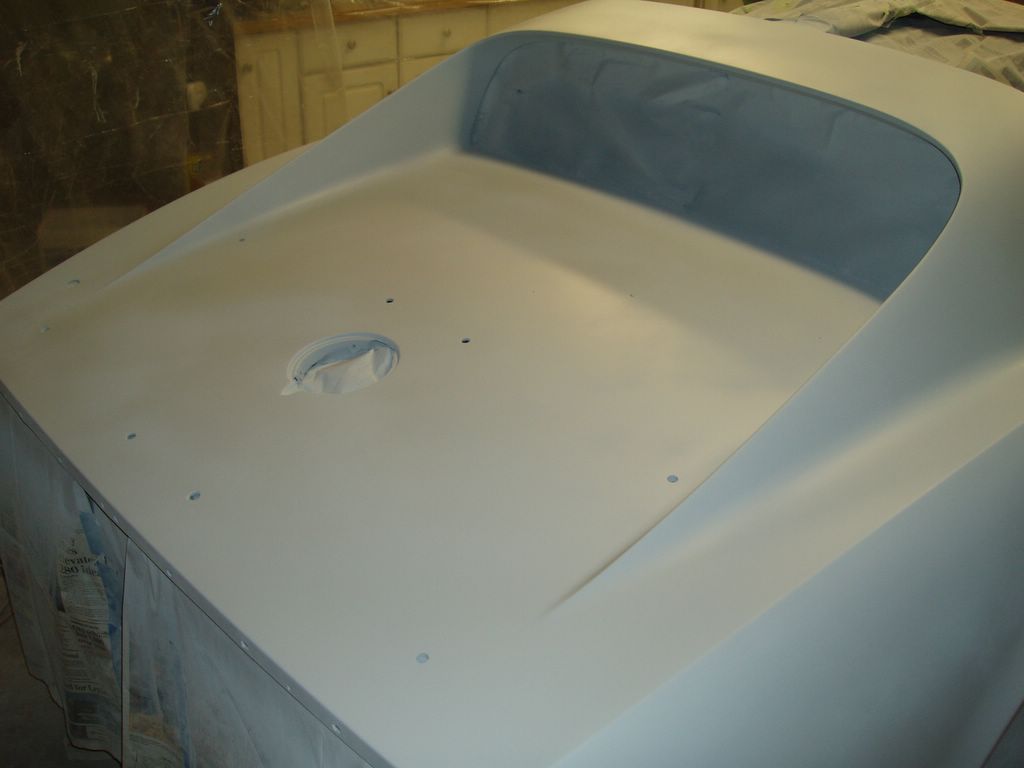
Final primer, remember how bad the rear deck was all chewed up from the bead blasting?
posted by Steve at 2:51 PM
![]()

1 Comments:
Nice work. Your blog is going to help me get my 74 painted this week. Thanks !
Post a Comment
<< Home