Monday, May 30, 2005

Weather stinks!

We've been getting rain since Saturday night and I haven't been able to do a lick of anything on the body because of it. I would have done some things on Saturday but I had to lay some grass in an area in front of the house, help the relatives lay a electrical line to their pool pump, and get ready to preach a lesson at our local congregation on Sunday. I had heard that the rain was coming but I thought I had until Monday and I could do the body work on Sunday afternoon. Wrong.

I couldn't take it any more and got out in the garage and did a few miscellaneous things:


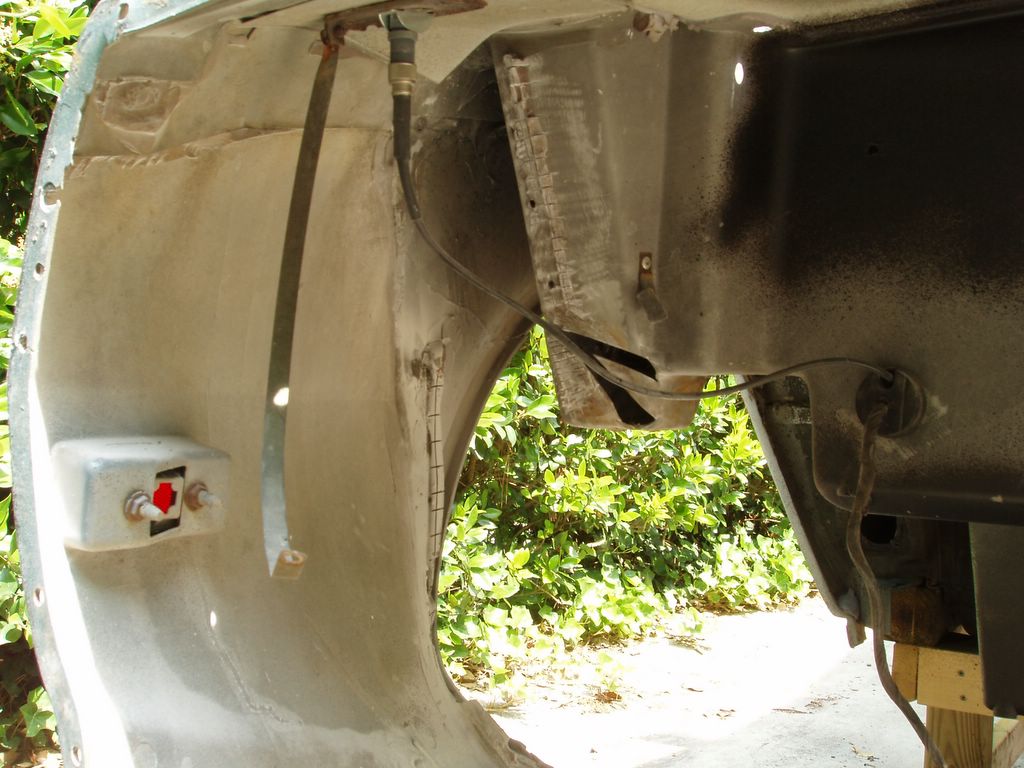
* Finished the attachment of the rubber lines from the tank to the steel lines going to the front of the car.
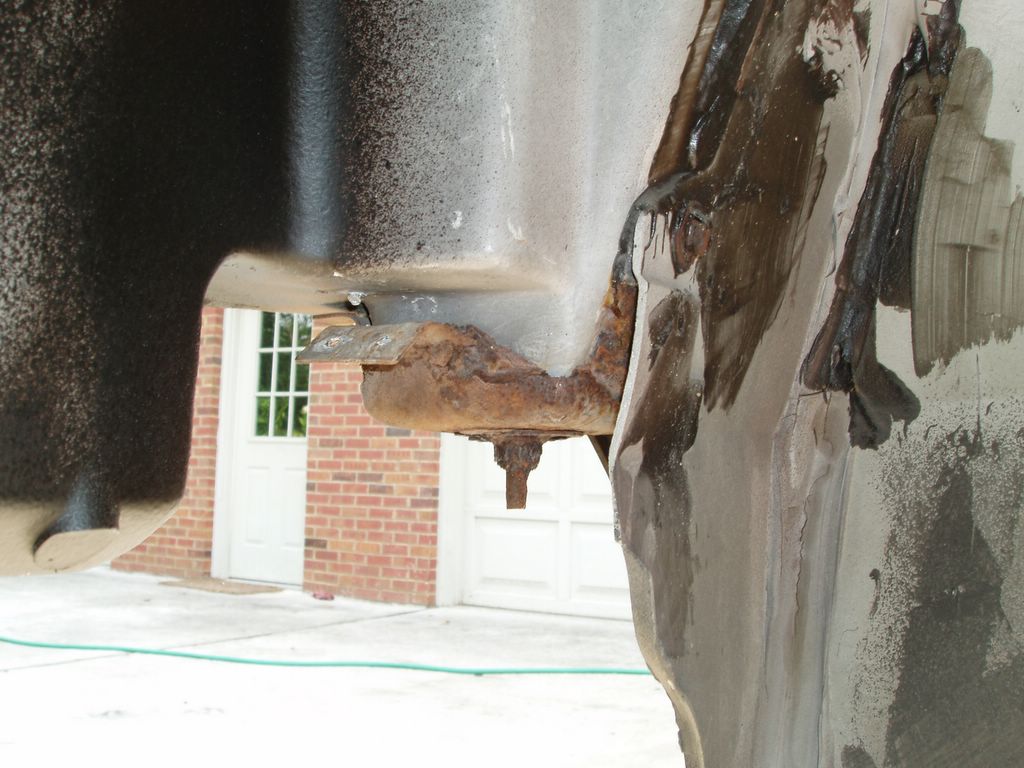
* Finished attaching the gas tank jacket to the frame
* Pressed out the old u-joints on the main shaft, cleaned, and sand blasted it ready to paint.

I compared the u-joints I got from Corvette Central back in March to the ones pressed out and the new ones are a good 1/4" short on the length. Hmmm. I wonder if that's because the old ones were greased vs the new ones are greaseless. I didn't think there was a difference in the length between the two. I'll have to check around to find the right u-joints.

Friday, May 27, 2005

Paint and body supplies

I spent the better part of 2 days trying to find the right materials to do the panel re-attach. I finally found a local auto paint supply store, Rozars. Gave them a call and sure enough they had some stuff. I went by on Friday afternoon after I got back from my business trip to California and picked up all of my auto paint and body supplies:

Body panel joining: Evercoat SMC fiberglass body fusing and filler
PPG Paint Products:
DP40LF - body sealer with DP401LF catalyst (I went with the 401 catalyst instead of the fast drying 402 catalyst because the 402 cannot be use on anything that flexes like bumpers. this gives me one mix that I can shoot on the bumpers as well)
K36 - acrylic urethane primer with K201 hardener and DT870 reducer (this is for the primary coat over the sealer, is sandable, etc for the base coat to adhere to)
Deltron DBC - base coat. Mixed to the factory color in my case, 2759, silver/blue metallic. (I went with the DBC at the recommendation of the shop as an easier material to work with in a garage)
Concept 2021 - clear coat with the DCX61 hardener

So, I pretty much have everything I need to complete the exterior body work. I picked up a simple rivet gun from Lowe's to re-attach the body panel and the body mounts under neath. No, I need the time to do the work! Hopefully this weekend I can finish the underbody work and the engine compartment.

Saturday, May 21, 2005

Fiberglass repair, underbody prep

In order to get the body back on the frame means that I must take care of the underbody and engine compartment. I already knew from the removal that the two rear body mounts were rust rotter and needed replacing. I also have a crack in the left rear quarter panel because the support member underneath had seprated allowing the q-panel to float and in the process of removing the body it got cracked. THis is what the support member looks like in place on the right side:


Right rear quarter panel support in place. This is what it looks like when done. Posted by Hello

Because the member was 90% loose on the q-panel side and completely free on the body mount side, I cut the bonding material at the lower part and then used a screw driver to pry and break off the member. It came away without any trouble. I then cut off the rivets holding the old, rotted body mount. This then exposed that the fiber glass under it was cracked. I cut that out and will fill that in with new glass when it comes time. Here's the pics:


Left rear quarter panel support removed. Posted by Hello


Left rear quarter panel support member removed. Posted by Hello

The right rear body mount that is rust rotter:


Right rear body mount is rust rotted and needs replacement Posted by Hello

Wouldn't you know it, I haven't had any problems with my back in about 4 months. I was helping move some matresses in the morning and tweaked my back. Looks like I'm done for the weekend as it's reminding me I'm not so young any more.

Thursday, May 19, 2005

Quick update

It's been pretty busy on a number of fronts for the past week. I've made some progress on the checklist of items in reaching the point of putting the body back on the frame.

* Installed water pump, starter, fuel pump, and flex plate
* Checked the header installation with a loose fit to make sure they were the right ones for the car. They are, good.
* I sent the trany off for rebuild. Good thing I did, the shop said the clutch plates had separated from sitting for so long and it was only $400 too.
* Trany and torque convertor bolted back onto the motor and frame

I also decided to get a new intake rather than re-use the old one. I had some Summit discounts from my initial purchase that essentially made the intake free. I purchased the Edelbrock Performer 2101 intake (non-EGR).

I've been wrestling with the body mount replacement issue for the past few weeks. I found a sale at Harbor Freight for a 100A MiG welder for $119. Picked that up Saturday and practiced on Sunday afternoon to get the technique down. My welding won't win any awards for looks but they passed the hammer test: if it stays on with a big whack of a hammer, it's a good weld. I'll post some pics of that later.

So, the coming weekends goals:

* clean the underbody and engine compartment
* fix the underbody fiberglass in a few areas
* paint underbody and engine compartment

If I can get that done, then I should be able to get the body back on the following weekend. Then finish the top end of the motor (lifters, push rods, and rockers, intake) and fire it up. More travel next week but fortunately it's during the week and shouldn't mess with the plan too much.

Monday, May 16, 2005

Trany back from shop

I got word from the transmission rebuilder that they completed the job today. They said that overall things were ok but that the transmission must have been sitting for some time because the clutch plates had separated. Good thing I decided to get it rebuilt!


Trany attached to motor and in place on frame. Posted by Hello

Friday, May 06, 2005

Move from a short block to a long block

With the cam, timing chain, timing cover, and oil pan installed I can now move on to some of the remaining lower end stuff: the harmonic balancer, oil pickup, and fuel pump. I purchased a new balancer from Summit for something around $40 for a Performance Street Summit brand. I heated it to 250F for 15 minuted to expand the inner sleave and make it easier to go on. Well, easier is a relative thing. I had to take a block to spread the blow of a hammer and literal beat the fool out of the thing to get it all the way seated.


Harmonic balancer and front pulleys installed. This was a bugger to get on even heated! Posted by Hello

Then, on to installing the Summit heads.


The Summit SUM-152123 Heads. The picture on Summit's site doesn't show they have the heart shaped Vortec style combustion chamber which you can see here. These are nice heads for the price, $324 each assembled. Posted by Hello


The heads installed on the block. It's looking like a motor! Posted by Hello

Thursday, May 05, 2005

Tramsmission overhaul

I was waiting on a few critical pieces to make some progress on the motor (gaskets!) and so I turned my attention to taking care of the transmission. The trany wasn't giving any noticeable trouble before the restoration but I wanted to open it up and make sure it was ok, do a light rebuild and put a shift kit in for snappier response.

The only realy drawback with a trany overhaul is that it is loaded with 7 qts of trany fluid which seems to always be lurking behind some piece ready to spill out. Be ready! Whoever had done the previous pan drop went nuts with the RTV, it was everywhere on the outside. Got inside the trany no problem and snapped a few pics for reference.


Started the transmission overhaul with a B&M shift kit. I am using the one that covers Street/Strip Performance for $53. Posted by Hello


Cables and valve body removed. Posted by Hello

The only trick with this kit is take it slow and read, read again, and read one more time before doing anything. The picture quality in the manual leaves something to be desired but it will get you by. All total I probably spend about 5 hours from start to finish.

Tuesday, May 03, 2005

Motor build up beginning

Started working on the build up of the motor. Here's where it's starting from.


The re-man block from Masterbilt. Starting the build up with the cam install. Comp Cams XE-268H Posted by Hello

And work on the bottom end pans and gaskets including the cam install, timing chain, and timing chain cover.


Oil pump installed and the 1 piece Fel-Pro oil pan gasket dry set in place just to see how it fits. Posted by Hello


Timing cover and oil pan installed. I like the oil pan gasket from Fel-Pro since it only takes a little RTV in the corners of the front cover and back main oil cap. Posted by Hello

Monday, May 02, 2005

Back from fishing

Went out on Friday with a bunch of guys I go to church with on a Gulf fishing expedition. It was excellent weather but the seas were pretty choppy. We caught out limit on Red Snapper and had quite a few grouper, warsaw, trigger, and one kobia. Now I've got a freezer full of fish!

So, I got very little done on the motor over the weekend. I ordered the torque convertor from Jegs as well as an oil priming tool. Both should be in by Friday. I won the Ebay auction for the chrome dress up kit for $35 and that should be in on Thursday. When that gets here then I can finish the lower end assembly of the motor. I had ordered an oil pickup from Summit that ends up being for a large capacity pan. I called Napa up locally and they can get me the right pickup by Tuesday for $8. The original pickup isn't worth the shipping cost to return by itself so I'll just hold back and see if anything else has to go back to Summit.

I took a little time and cleaned up the original oil pan. Cleaned off the old RTV and the oil residue in the pan, painted it black to match the motor and took some of the bends out of the lip to make a tight seal. But I can't install it until I get the timing cover.